Winter Sowing with Native Plant Seeds
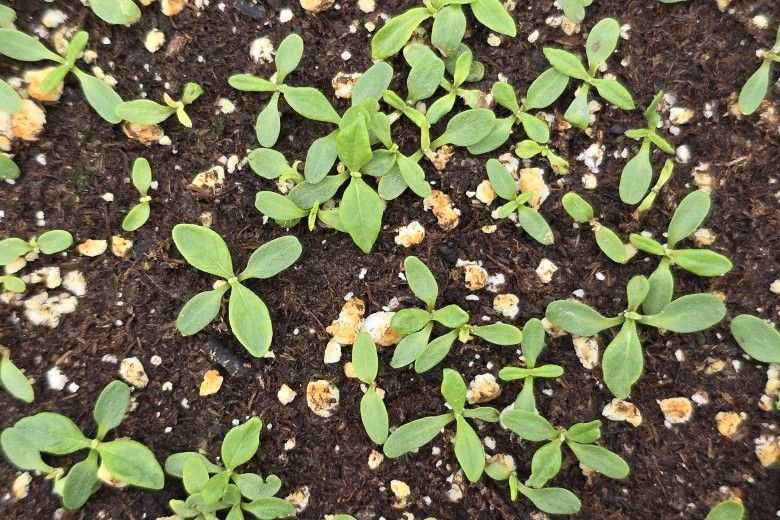
Winter sowing is a simple, cost-effective, and efficient way to grow native plants from seeds. By using natural stratification processes, this gardening technique can yield higher germination rates and stronger plants. Winter sowing promotes biodiversity, strengthens local ecosystems, and gives gardeners the satisfaction of growing native plants from seed—without the need for indoor grow lights or complicated care routines. Whether you're a seasoned gardener or a beginner, winter sowing offers an easy, accessible and sustainable way to support the growth of native plants.
What is Winter Sowing?
Winter sowing involves planting seeds in containers outdoors during the winter months, allowing them to experience the cold stratification they need for germination. The process mimics natural stratification—the cycle where seeds undergo winter’s cold and precipitation, followed by warmer temperatures in spring, thereby encouraging natural growth. This method eliminates the need for indoor seed-starting trays and artificial heat sources, making it an ideal technique for gardeners who want to grow plants that thrive in local climates.
Why Winter Sowing Works for Native Plants
Native plants are adapted to the natural cycles of their local ecoregion, and many require a period of cold exposure while in contact with a moist substrate, be it soil, sand, or something similar, to break seed dormancy. Winter sowing simulates these natural conditions, offering seeds the best chance to sprout when temperatures warm by breaking the seed coat. This is especially important for native species, which are acclimated to their local environment.
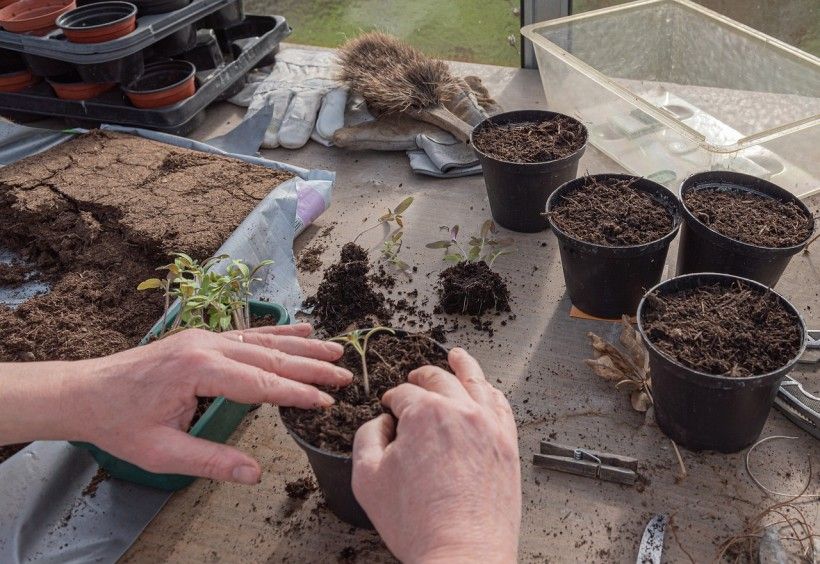
Benefits of Winter Sowing for Native Plants
- Low Maintenance: Once seeds are sown, they are left outside, exposed to the elements. There's no need for daily care or attention.
- Improved Germination: Many native plant species require specific cold stratification periods to germinate. For example, some species like Nodding Onion (Allium cernuum) and Eastern Columbine (Aquilegia canadensis) need 60 days of cold, moist stratification for best germination, while Milkweed species (Asclepias spp.) only need 30 days.
- Natural Hardening Off: Seedlings that grow outdoors naturally acclimate to their environment, making them stronger and more resilient than indoor-started seedlings.
- Cost-Effective: Growing native plants from seed is a lot less expensive than purchasing young plants from a nursery.
- Supports Local Ecosystems: Growing native plants helps to restore local habitats and support pollinators, beneficial insects, and wildlife.
How to Winter Sow Native Plant Seeds
- Choose the Right Seeds: Not all seeds benefit from winter sowing. Look for native plant species that naturally grow in your region and require cold stratification. Common native plants that do well with winter sowing include wildflowers such as black-eyed Susan, lobelias, milkweeds, purple coneflower, and native sunflowers, as well as shrubs including Meadowsweet (Spiraea alba) and Common Ninebark (Physocarpus opulifolius).
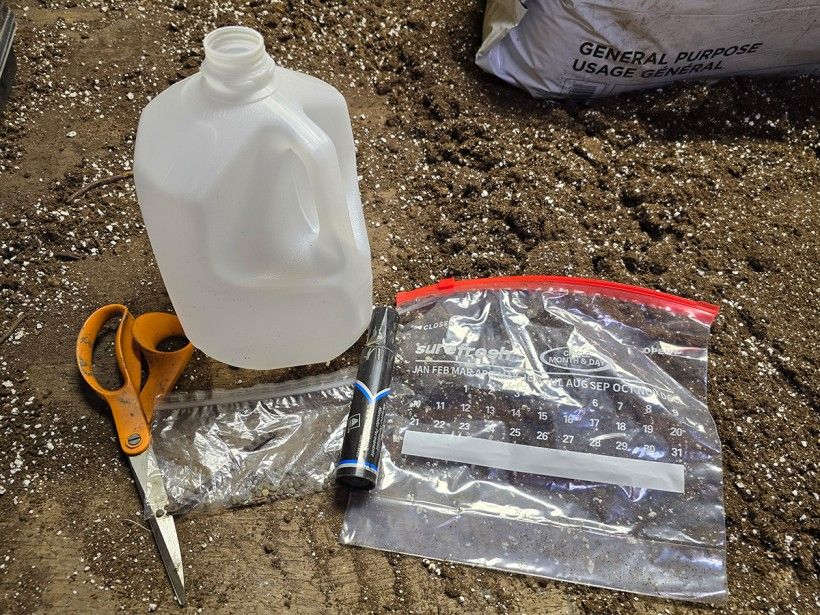
- Gather Supplies: To get started, you’ll need:
- Clear plastic containers like milk jugs or soda bottles. These will act as mini greenhouses.
- Potting mix or seed-starting mix. Do not use garden soil (it’s too heavy).
- Native seeds of your choice.
- Scissors, tape, and a marker.
- Optional: pencil and a slip of paper.
- Prepare the Containers:
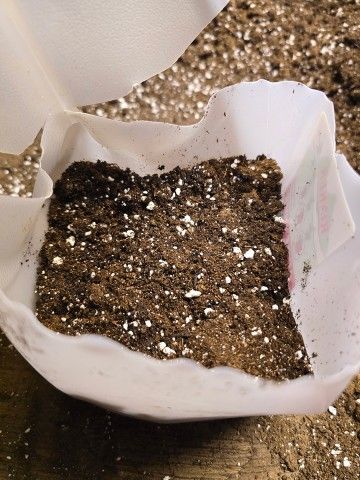
- Cut your plastic container in half, leaving a hinged top that can be secured back in place.
- Remove the lid. The opening will allow some precipitation to keep the soil moist over winter.
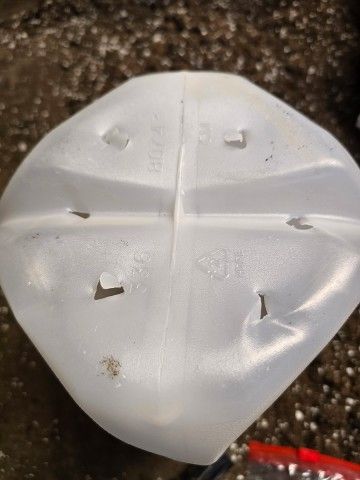
- Punch several drainage holes in the bottom to allow excess water to escape.
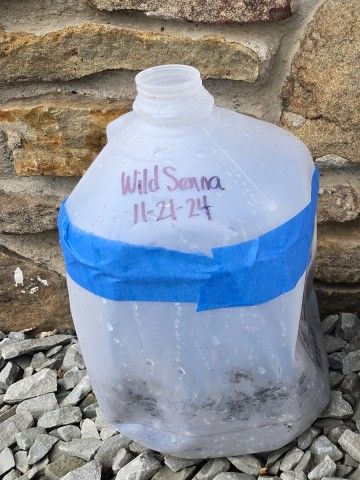
- Label each container with the plant species and the date of sowing. Pro tip: write the same information on the slip of paper with the pencil to place inside the container as a backup in case the exterior label fades.
- Plant the Seeds:
- Fill the container 3–4 inches with a damp, but not soggy, potting mix.
- Sprinkle the seeds evenly across the surface of the soil.
- Lightly cover the seeds with more potting mix, if necessary. Some seeds need light to germinate and shouldn’t be covered.
- Secure the top of the container back in place, using tape.
- Set Them Outside: Place the containers in a spot where they will be exposed to the elements—a sunny location is ideal. Avoid placing them in areas where they might be buried under heavy snowdrifts. Containers should stay outside for the entire winter, experiencing the freeze-thaw cycles that trigger the stratification process.
- Monitor Growth: Check your containers occasionally for moisture. If they seem dry, add a little water, but avoid making the soil too soggy. As temperatures warm in early spring, you should see seedlings start to emerge. The mini greenhouse effect of the plastic containers helps maintain a stable temperature, providing a favorable environment for the seeds to grow.
- Transplant Seedlings: As the weather warms and the seedlings develop, they can be eventually transplanted into your garden.
Winter Sowing Tips
- Timing: The best time to start winter sowing is typically from late fall to early winter (November to January), depending on the species you are growing and your climate zone.
- Use Fresh Seeds: Ensure that the seeds you’re using are fresh and have been properly stored before planting. Old or improperly stored seeds may not germinate as well, but they’re still worth trying!
- Start Small: It’s a good idea to start with a small batch of seeds the first time to get a feel for the process.
- Proper Placement: Avoid placing the containers in areas where they might be disturbed by animals or overly harsh conditions. A protected, sunny spot is ideal.
Common Challenges and Solutions
- Overwatering: If the containers are too wet, seeds may rot. Ensure the drainage holes are sufficient and that water doesn’t pool at the bottom.
- Wildlife: Squirrels or other animals may be attracted to the seeds! Consider using mesh or wire cages around the containers if animals are a concern.
- Too Little Light: If the containers are placed in a location without enough sunlight, seedlings might become leggy or weak. Ensure they are exposed to sunlight for several hours a day.
Header photo: New York Ironweed (Vernonia noveboracensis) seedlings. Photo by Melissa Reckner