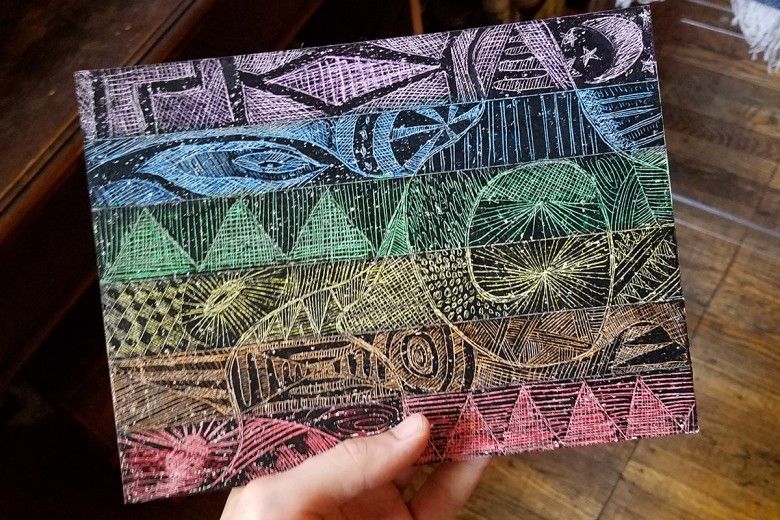
In celebration of Pride Month, I wanted to use the Rainbow Flag for inspiration but give it a slight twist by making the flag into a fun doodle project that celebrates diversity in an exciting new way. I’m using the simplest of the Pride Flags, but there are many to choose from and you should feel free to try whichever one you want!
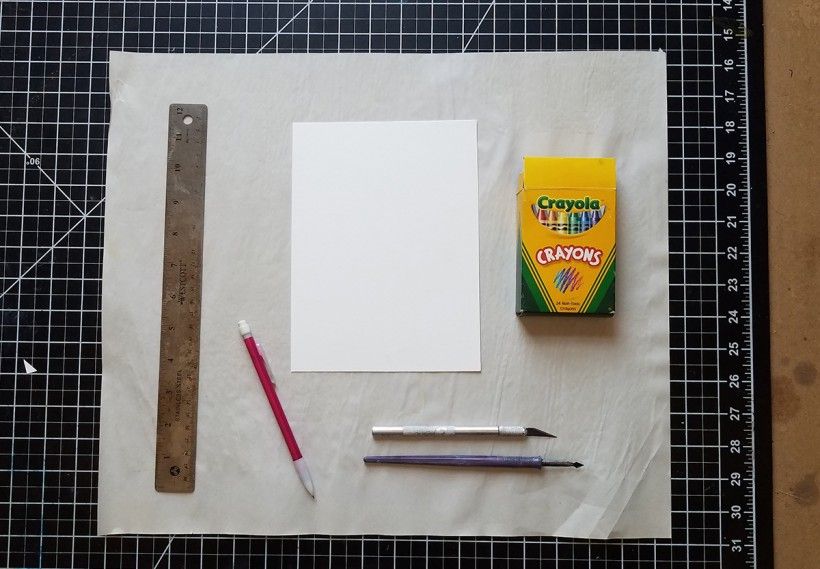
Watercolor Paper (any size will work! I’m using 9x6” paper. Heavier, toothier paper is better as it allows more drawing material to adhere to the surface, and it holds up to the scratch tools better.)
A ruler
Crayons or oil pastels (oil pastels may be faster and give more vibrant colors, but they are a bit more expensive. I’m using crayons for my project.)
Scratch tools, such as a scratchboard tool and an X-Acto blade
Image
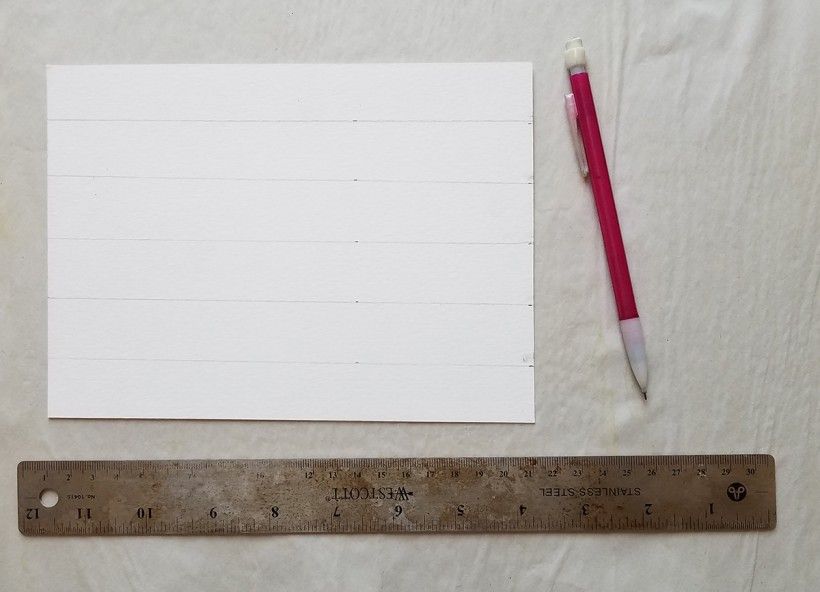
Photo of a white piece of paper with horizontal pencil lines, a pencil and a ruler
Step 1:
Measure out your lines. You can choose a more complex flag, but for the sake of simplicity, I’m going with the basic Rainbow Flag. Make sure to note how wide you make your lines as it will help in Step 6 to know these measurements.
Image
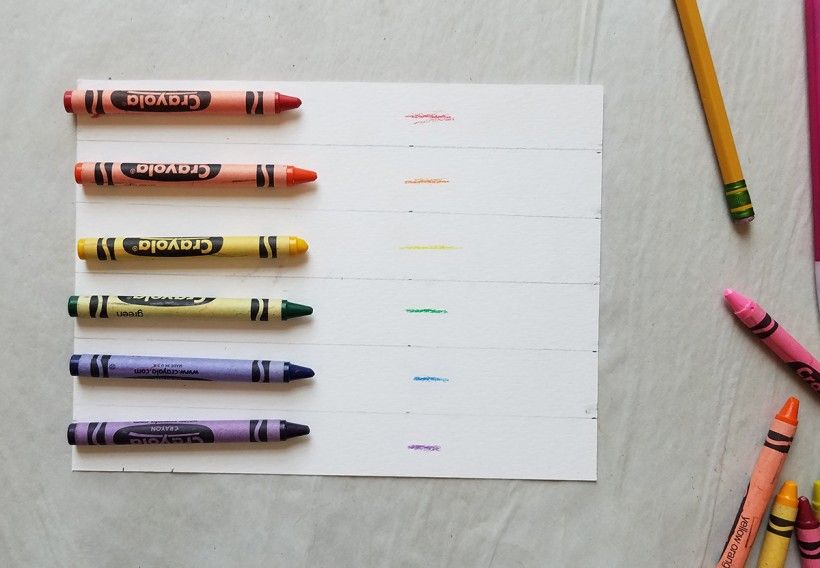
An assortment of colored crayons on top of a white piece of paper with horizontal lines
Step 2:
Lay out your crayons with each stripe you intend to use them in. I find doing this prevents me from making annoying mistakes in hard-to-erase media like crayons or oil pastels.
Image
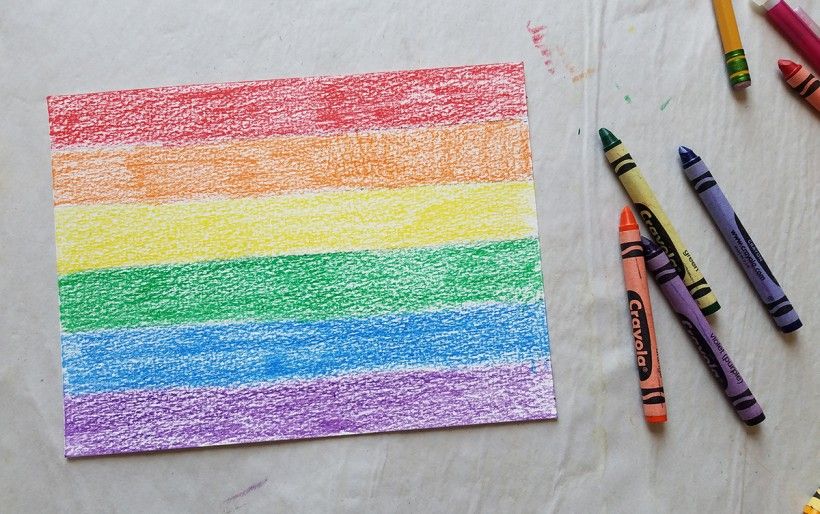
Crayons next to a piece of paper with rainbow-colored horizontal lines
Step 3:
Color in your design. Don’t feel like you need to press very hard, but don’t press too lightly either. You want to have enough crayon on the surface that the color shows through when you scratch into later, but not too much that you have hard time putting your second layer on.
Image
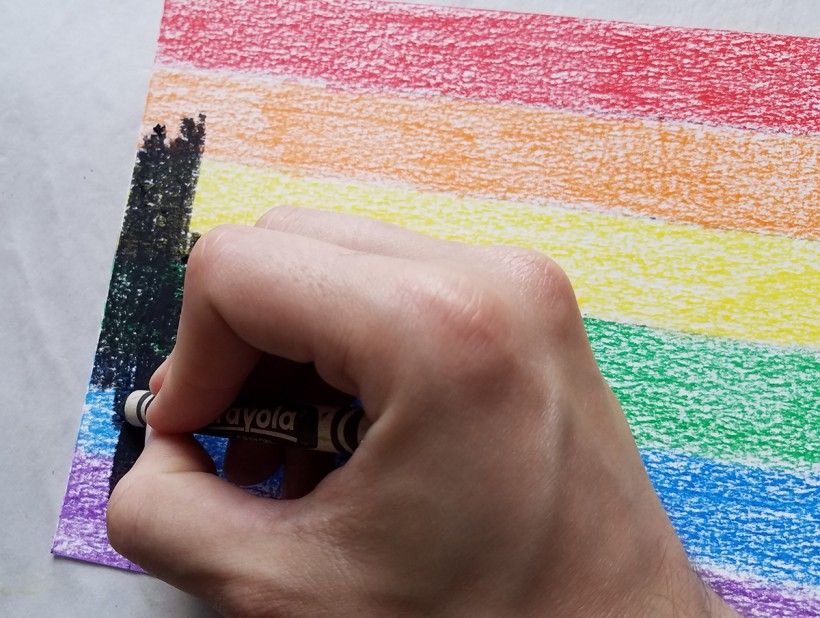
A black crayon drawing over rainbow-colored horizontal lines
Step 4:
Go over your whole drawing with black crayon, this time pressing hard in order to cover your color completely.
Image
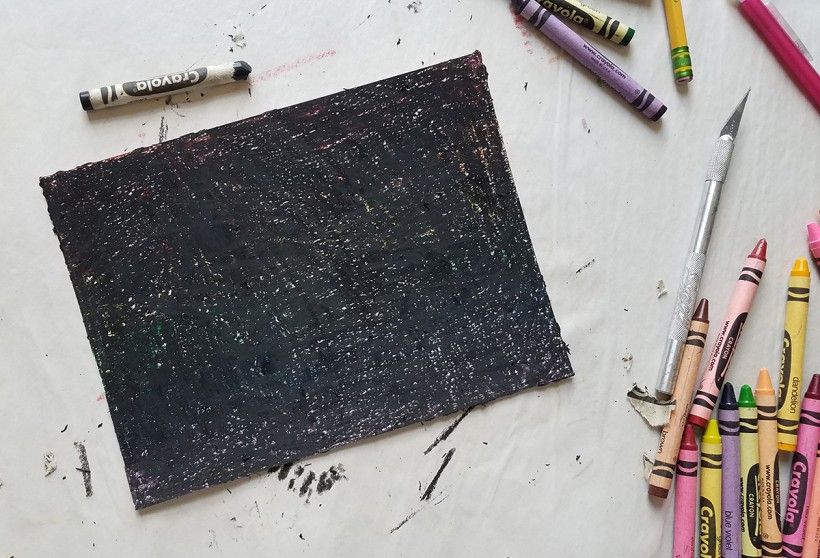
A piece of paper colored over with black crayon
Step 5:
Take a break! Coloring that much can be tiring, but luckily the fun part is about to begin!
Image
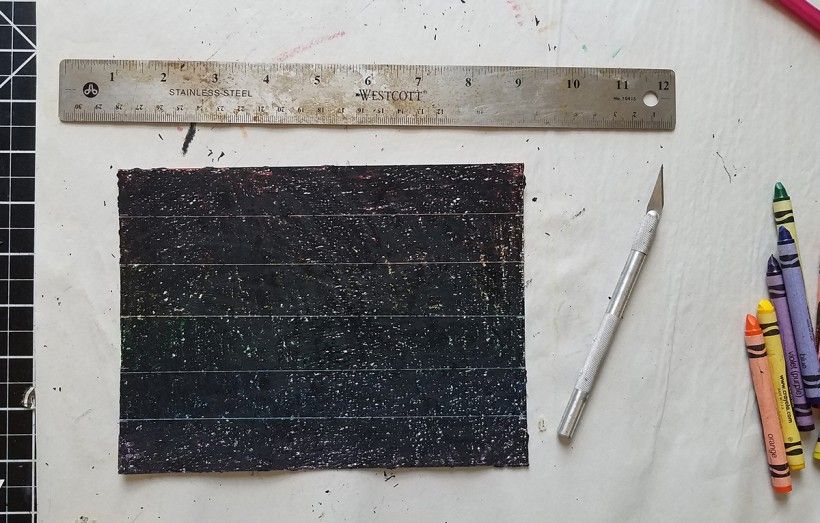
A piece of paper colored over with black crayon, next to a ruler and crayons
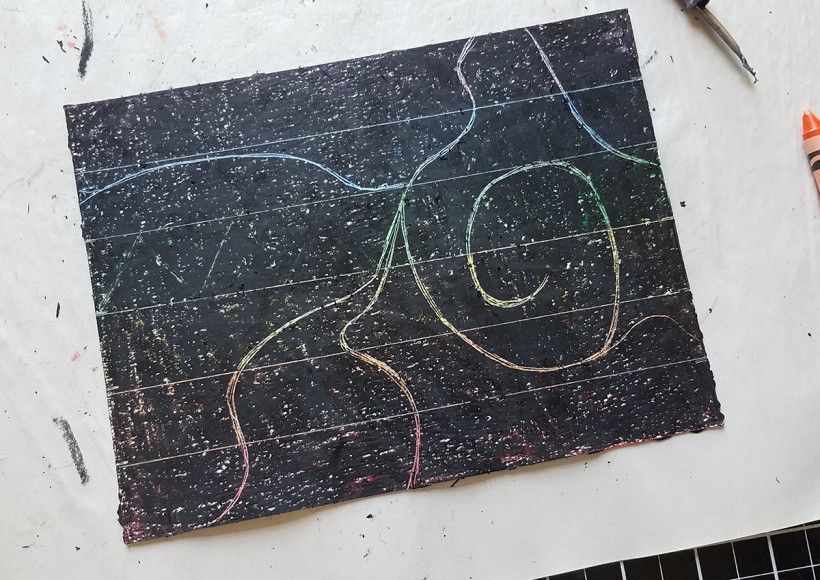
Step 6:
Using your scratch tool of choice, draw out dividing lines again so you have the structure of your flag visible.
Image
A piece of paper colored over with black crayon, with a colorful design scratched through the middle of the paper
Step 7:
Scratch some more creative shapes that cut through the whole paper! These along with the straight lines will give you the foundation for different areas of doodling.
Image
A piece of paper colored over with black crayon, with a colorful rainbow design scratched through the middle of the paper
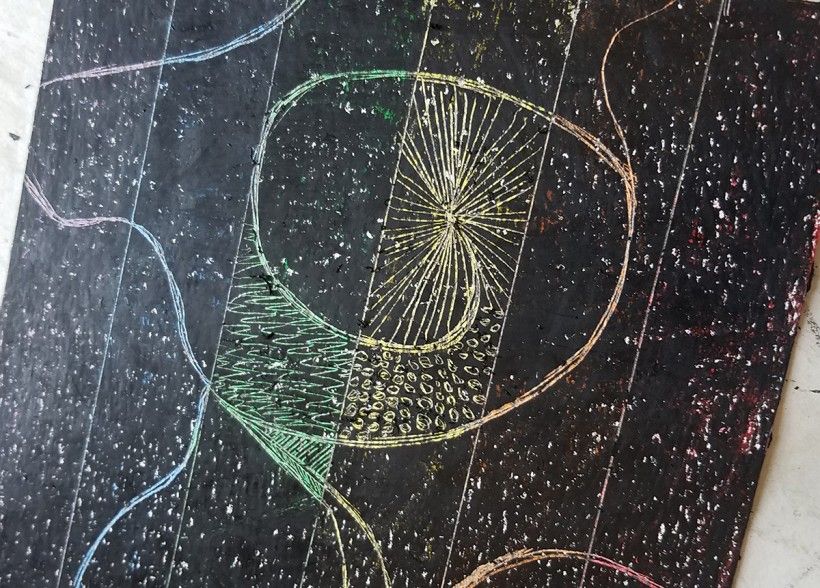
Step 8:
Begin thinking up patterns to fill in your different shapes, being sure to keep a wide variety and not get too stuck in one pattern or another so that the composition remains interesting and the boundaries of your shapes are distinct.
Image
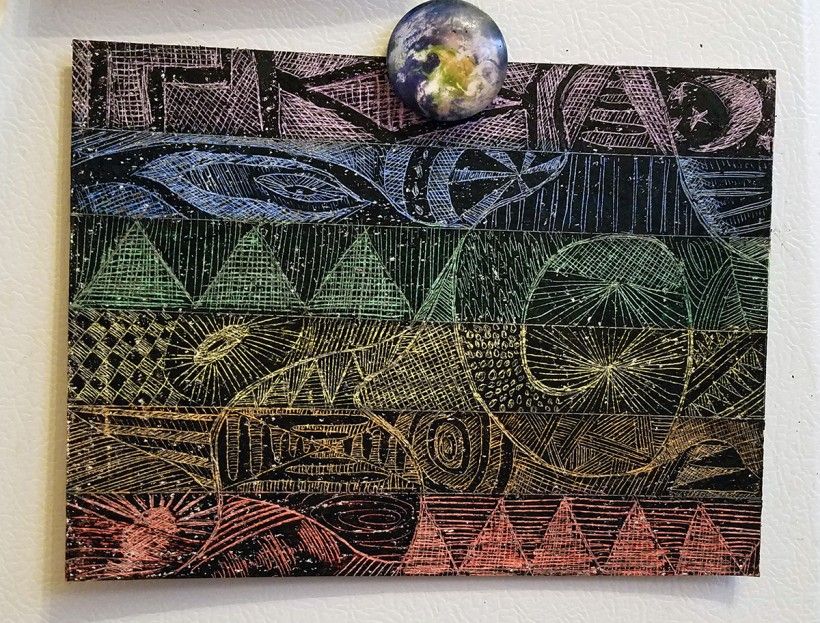
Rainbow colored Pride Flag design made using scratch art
Step 9:
Admire your finished product and find a place for it to hang! I put mine on the fridge because then I’ll see it every day.